ESR supports automated emails to simplify communication with registered students. Every email can be designed to your liking either directly in WordPress or added as HTML code. Each email template has available tags to automatically fill in Course/Wave/Payment/Student data and more.
General
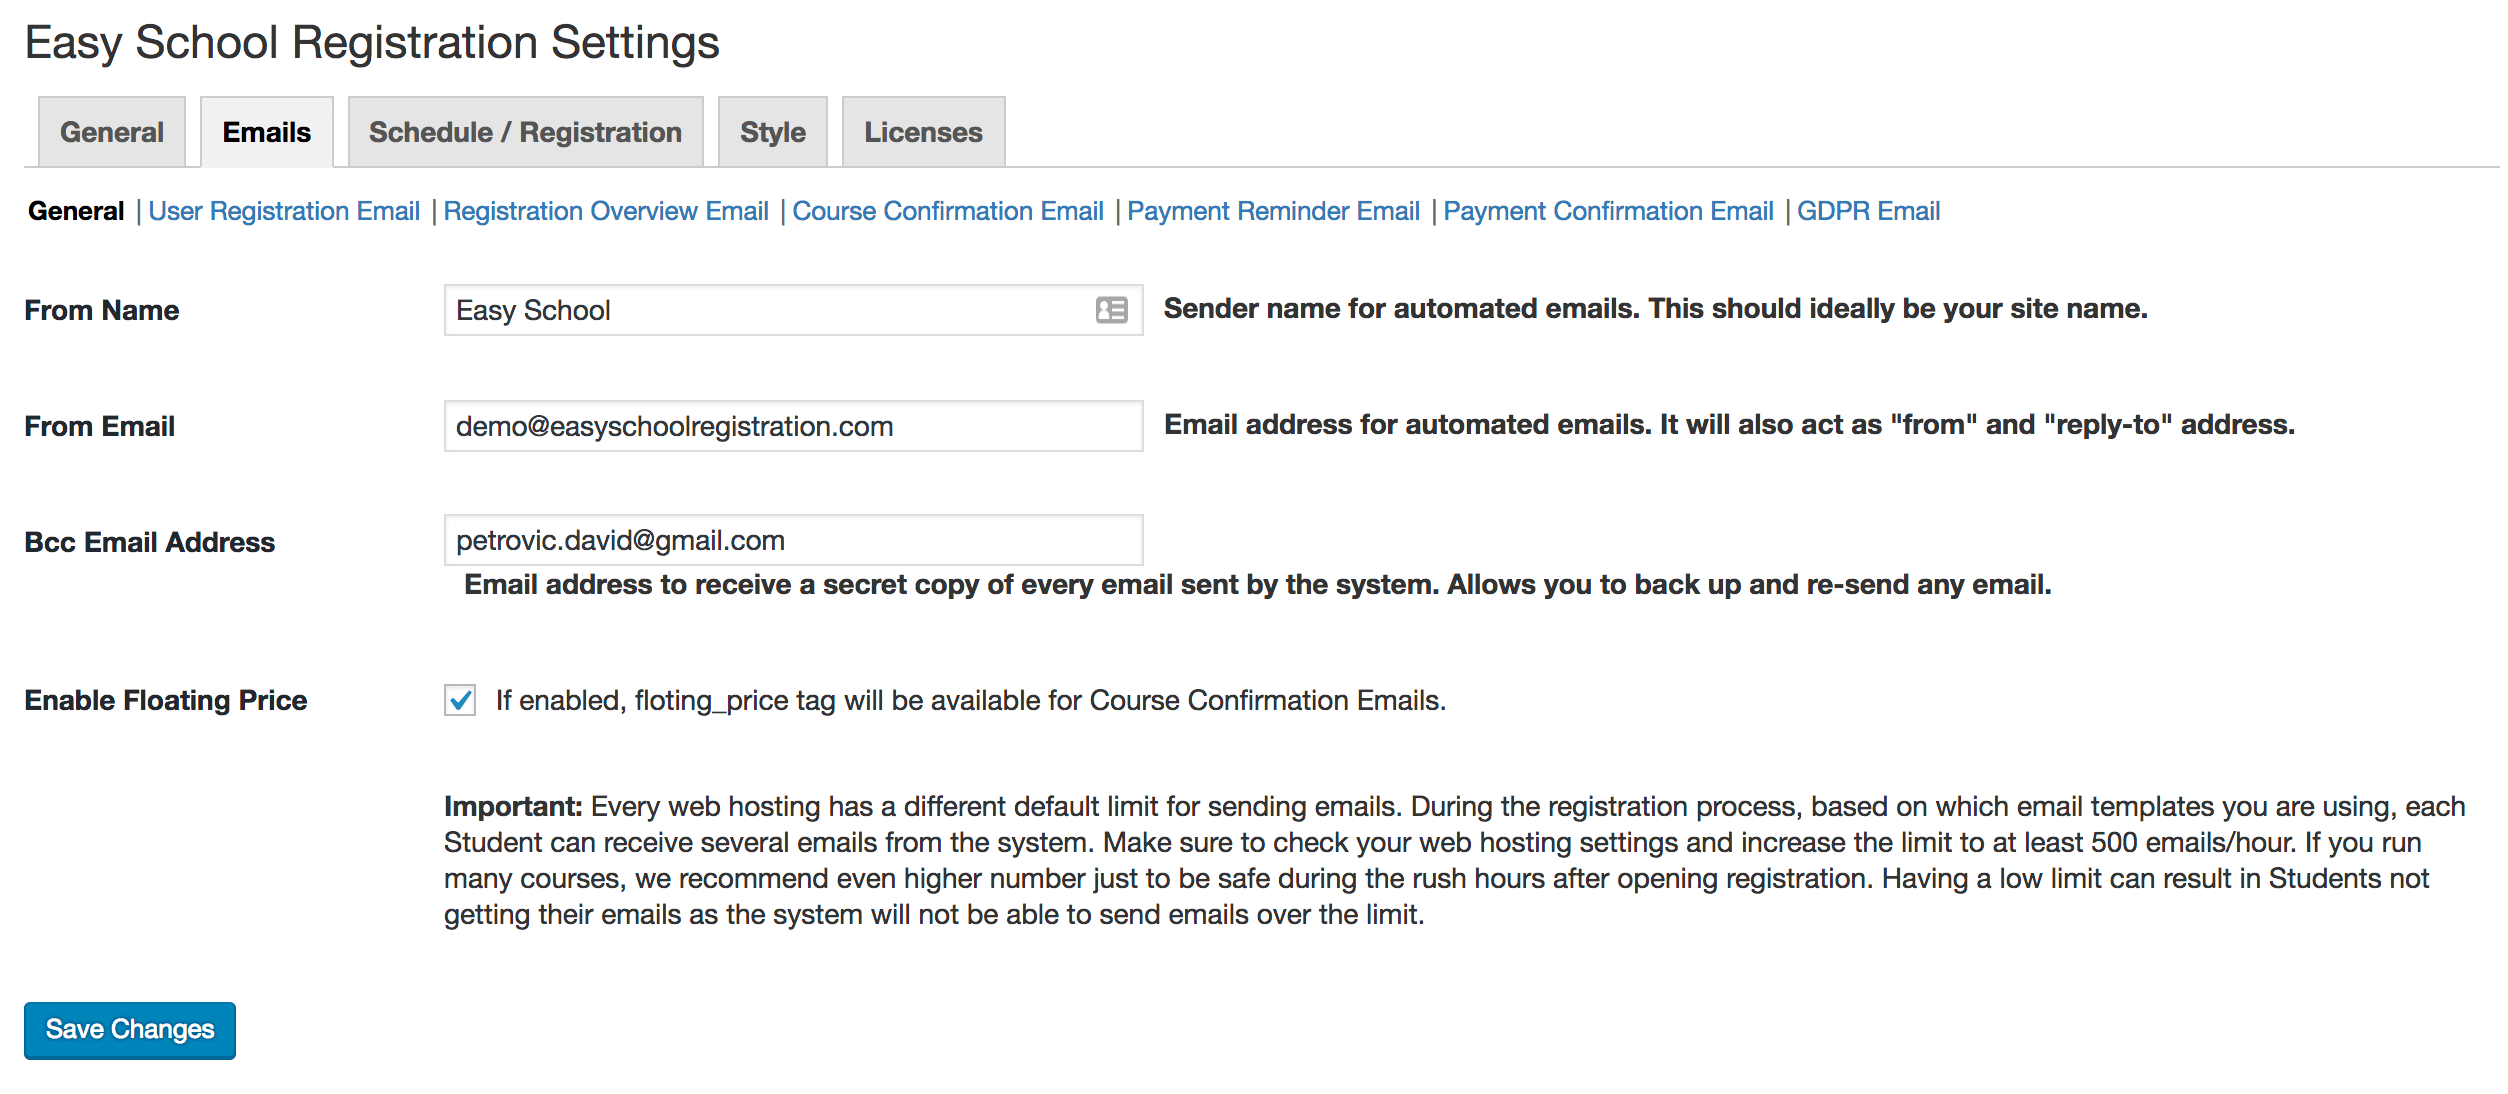
Basic email settings applicable to all email templates:
- From Name -> the name shown as the sender of your emails
- From Email -> the email address used for sending emails, also acts as a “reply-to” email address
- Bcc Email Address -> the email address to get a secret copy of every email sent by ESR
- Enable Floating Price -> enables Floating Price email tag, learn more in a dedicated article here
Bcc Email Tips:
- We highly recommend this feature to every school -> it helps pinpoint email issues if they occur
- We recommend using a dedicated mailbox for this purpose to avoid spamming your main inbox
- Great for a back-up and history of sent emails -> if you need to re-send any email or check that it was properly sent
Important Note:
Every web hosting has a different default limit for sending emails. During the registration process, based on which email templates you are using, each Student can receive several emails from the system. Make sure to check your web hosting settings and increase the limit to at least 500 emails/hour. If you run many courses, we recommend even higher number just to be safe during the rush hours after opening registration. Having a low limit can result in Students not getting their emails as the system will not be able to send emails over the limit.
Any email template can be enabled or disabled based on your registration flow. Learn more about each template below.
Tags
Using Tags allows you to send customized emails to your Students. They will receive only info related to them (Courses, Price to pay, etc). They are always displayed under the email text area. Here are a few tips to keep in mind:
- Tags are always used with brackets -> any change of the text or any additional space in the brackets will break its function
- Formatting Tags will also format the populated information -> e.g. “Hi [name]” will be shown as “Hi David“
User Registration Email
This email template sends personal login details to your WordPress. The student will only be able to access Student Info section which provides an overview of his past/current registered Courses.
Learn more about Users and Access Restriction in dedicated articles:
We recommend mentioning the login URL in the User Registration email: “www.yourdomain.com/wp-admin”
Registration Overview Email
This email template will send a summary of a Student’s registration right after he submits it. It is a great way to communicate “we received your registration (details below), please, wait for confirmation and payment instructions”.
Course Confirmation Email
One of the most important emails for Students. When the Student is confirmed for the Course (either automatically or manually, learn more here), he receives this email. Basically, a green light for him to come to your classes.
If you want to ask Students to send payments in advance, this is the best moment. If you are using Discounts, make sure to use Floating Price.
Payment Reminder Email
This email is sent manually via Payment Emails section. Only Students who haven’t paid yet or haven’t paid the full price will be visible – select either all or only specific people and click Submit.
Email Tags will enable you to send info about unpaid Courses, how much, and where to pay.

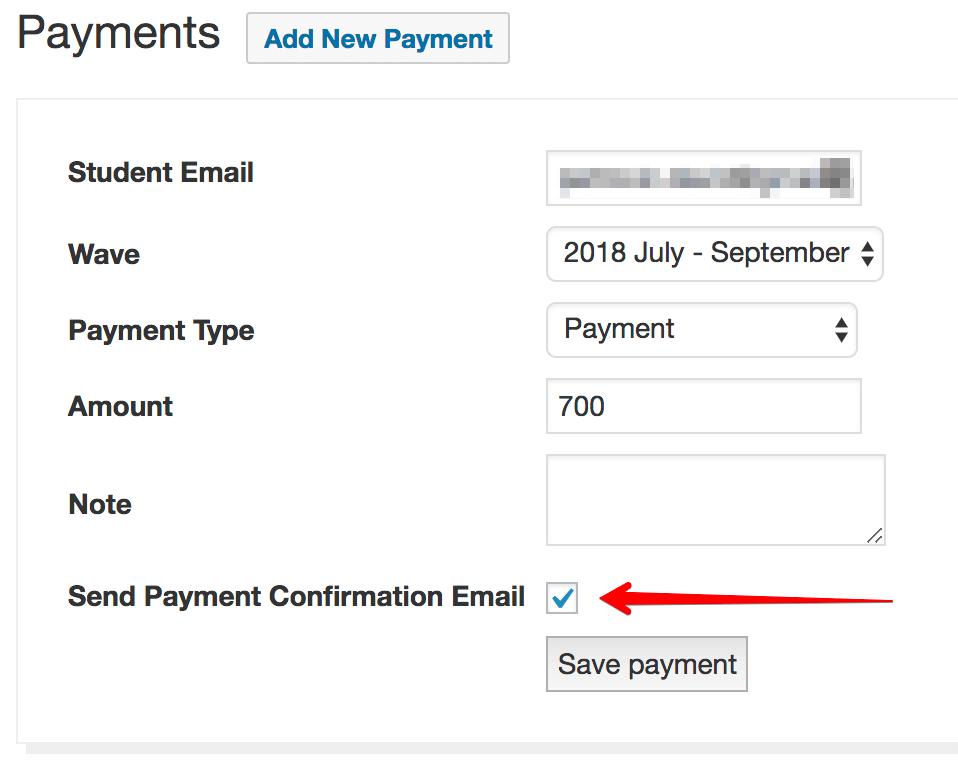
Payment Confirmation Email
This email is sent when the checkbox in Confirm Payment is selected. It is a great way to tell your Students their payment was received. It will help you avoid emails asking “Have you received my payment?”.
Note – the checkbox in Confirm Payment will be displayed after you enable this email template.
GDPR Email
As per the EU regulation on Data Protection, any Student can request from you a list of personal details you store about him and consequently ask for deletion of such data.
In the Students section (beware, there is a Student Info section dedicated to Students directly and Students section available only to you) you can search for the Student, view the data, and send it to his email by clicking Send Export.
If you are asked to delete Student’s data, you can do so by removing his User Account via Users section.
To get inspiration and help when setting up emails, have look at Email Examples.